WSL Quick Setup
Quick WSL Setup
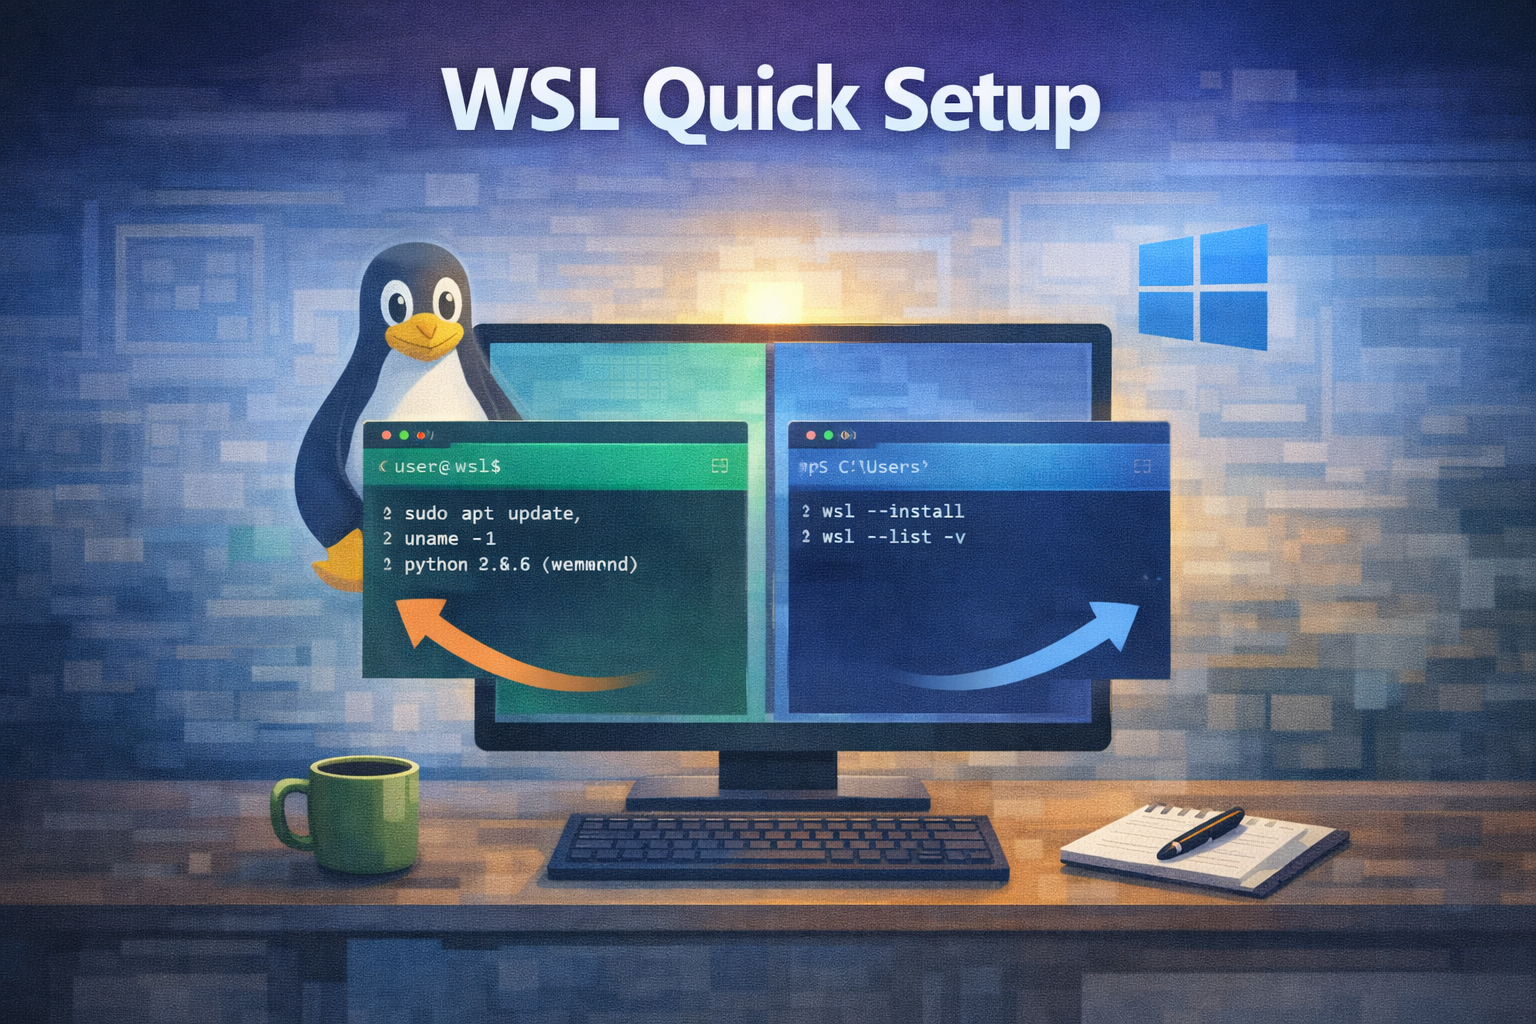
Introduction
WSL or Windows Susbsystem for Linux is a Microsoft Windows feature that let developers run a Linux Environment on Windows. WSL2 includes a real Linux Kernel.
To learn more about it, read here.
Initial Configuration
On Windows $HOME folder create a file .wslconfig
1
2
Set-Location $HOME
New-Item -Path ".wslconfig" -ItemType File
Then add the following to .wslconfig
1
2
[wsl2]
networkingMode=mirrored
To learn more about .wslconfig go to official docs
Install WSL
Open PowerShell in admin mode and run
1
wsl --install -d Ubuntu
After logging in you will need to:
- Create default user (leave it with default Windows user)
- Set Password (use Windows PIN for convenience)
If already installed, check you are using a wsl2 version first
1
2
3
wsl --version

# WSL version: 2.6.1.0
By default, the installed Linux Distribution will be Ubuntu. To keep it simple we will work with Ubuntu. Check the distribution has been installed by running
1
2
3
4
wsl --list

# Windows Subsystem for Linux Distributions:
# Ubuntu (Default)
You can install other distributions at the same time. When running
wsl --listyou will see(Default)on the main one
WSL Ubuntu Configuration
Check that systemd is enabled
1
 cat /etc/wsl.conf
You should check that systemd=true exists
1
2
[boot]
systemd=true
Disable interop/appendWindowsPath in /etc/wsl.conf (this includes binaries from Windows on your shell PATH) to avoid Windows Binary clashes. Ideally, the system should run all by itself, but if you prefer you can leave it as true.
1
2
3
[interop]
enabled = true
appendWindowsPath = false
To learn more about /etc/wsl.conf go the official docs
Initial WSL Ubuntu Configuration
Update apt
1
sudo apt-get update
Install core utils
1
sudo apt-get install -y sudo gpg wget vim curl xz-utils wslu ca-certificates systemd systemd-sysv dbus
Install build essentials (gcc, make, perl, etc)
1
sudo apt install -y build-essential
Log out, wait at least 8 seconds and log in again
1
2
3
4
5
exit
wsl -t Ubuntu

# wait at least 8 seconds
wsl -d Ubuntu
If you wonder why 8 seconds, read The 8 second rule for configuration changes from microsoft
You are now good to go!